I have a passion for furniture. I love and judge pieces wherever I go. This probably comes from my study of Interior Design and Art History. When I see an old piece of furniture that is rundown, damaged and looks extremely unattractive, I feel bad for the furniture. This has made me want to refinish furniture and make it like new. However, I have always made up excuses of why to not do it. So, I put this task on my goal list.
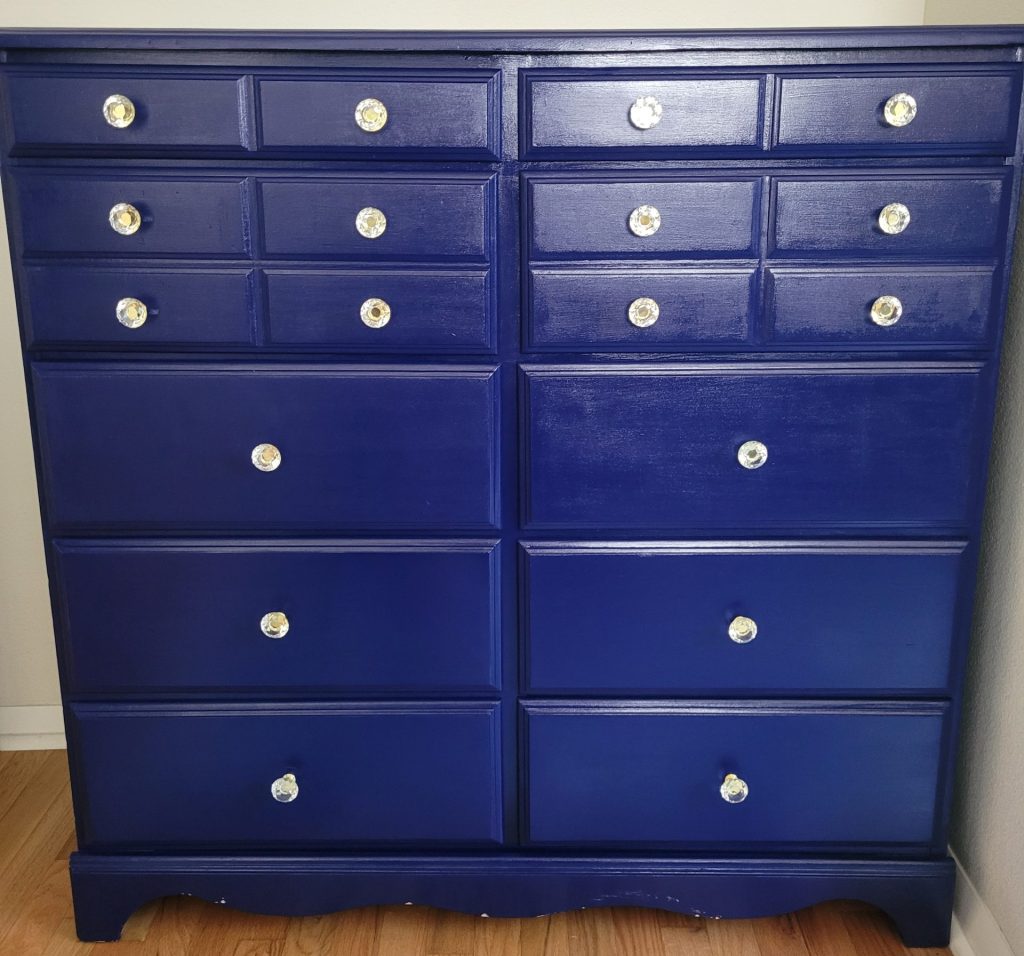
My first attempt at refinishing a piece of furniture was a ten drawer dresser with ridges. Why I didn’t start with a small side table with no decorative ridges I don’t know. Wait yes I do. I needed a dresser! So I tackled a big project to start with.
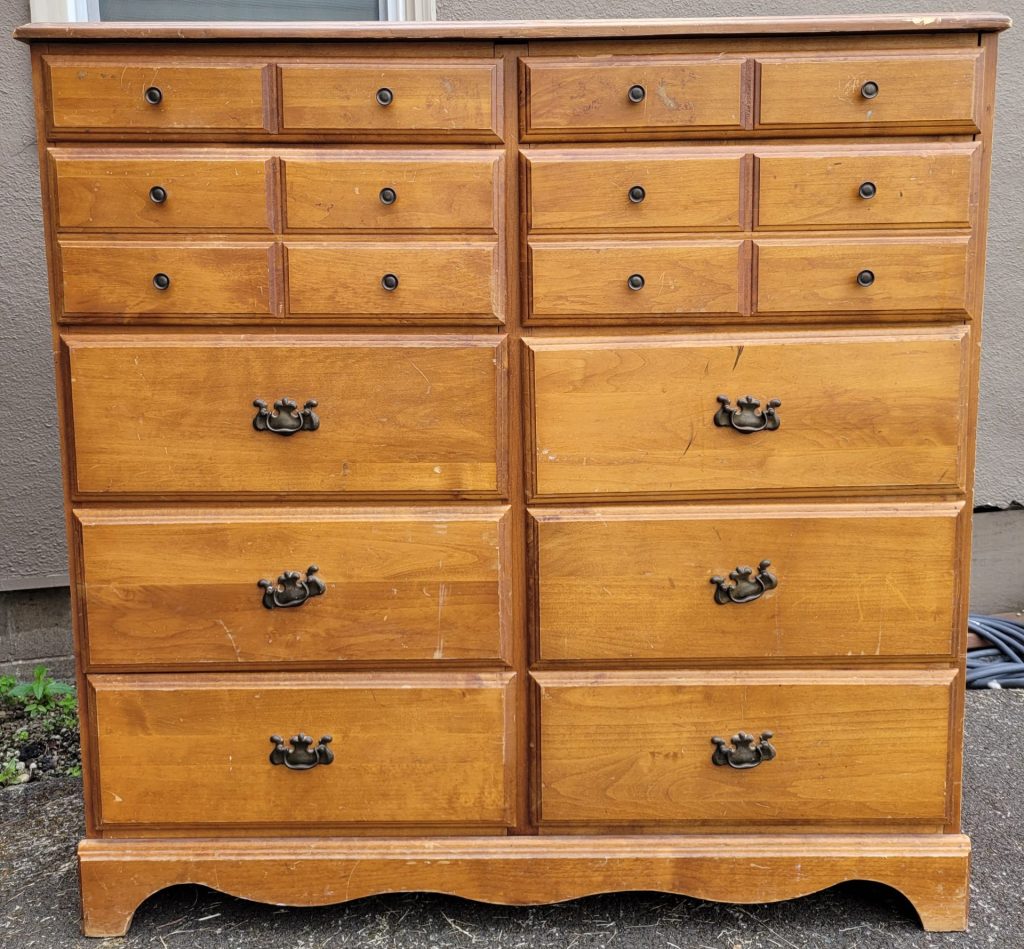
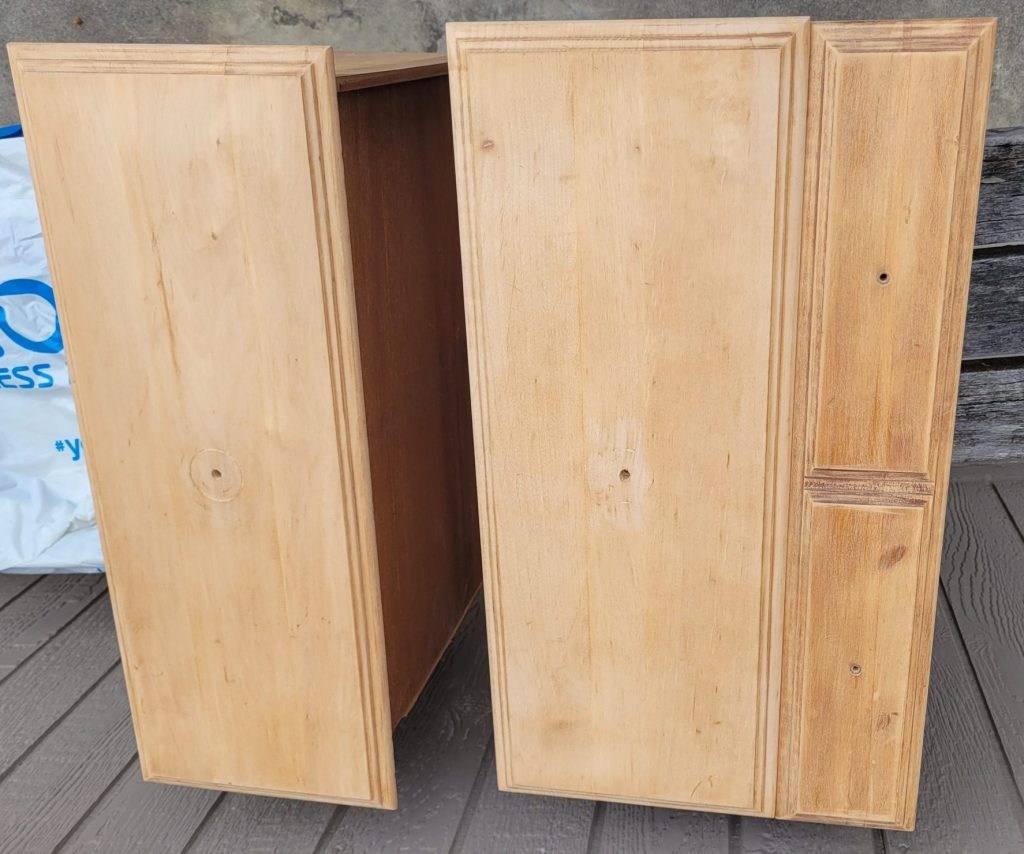
I have never refinished a piece of furniture before, so I figured, it couldn’t be that hard. There are so many people who do it. I had some sheets of sand paper from a previous project and pulled that out and started working away on one of the drawers. Thankfully the drawers are not big, there is just a lot of them. After I don’t know how long, an hour or two, I finished sanding two drawers. This task is looking daunting at this point. There are ten drawers plus the dresser itself. My process needed to change.
I remember seeing blogs and Pinterest posts showing hand held electric sanders. So I looked some posts up online, and with my husband’s help we went shopping. Neither of us knew what we were really looking for, or how to pick a sander. We went to three stores, all while comparing prices online, trying to find the best deal. At the third store, we finally found a sander in our price range. We noticed that there are different shapes of sanders and you can get either battery operated or one with a cord. While looking around, we couldn’t find the batteries for the battery operated ones (battery sold separately).
Next came the sand paper. We read on the box of the sander that the sand paper is not included. So we looked though the wall of all the different sand paper options. We learned that you have to match the shape of the paper to the shape of the sander. Makes sense. Not all the brands of sandpaper matched the brands of the sander. That was confusing. We grabbed a package of sandpaper and headed to the front of the store to check out.
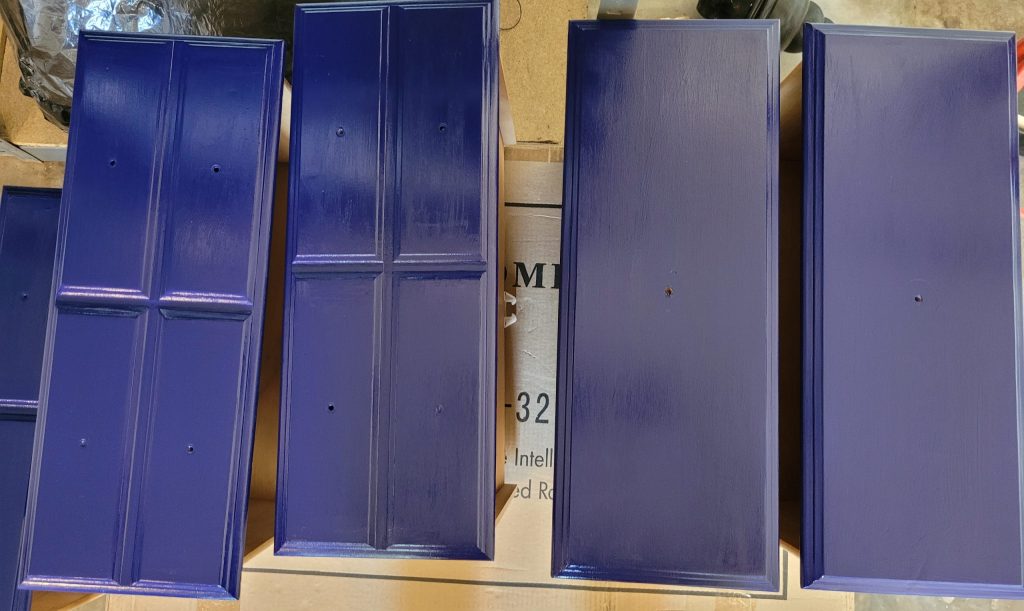
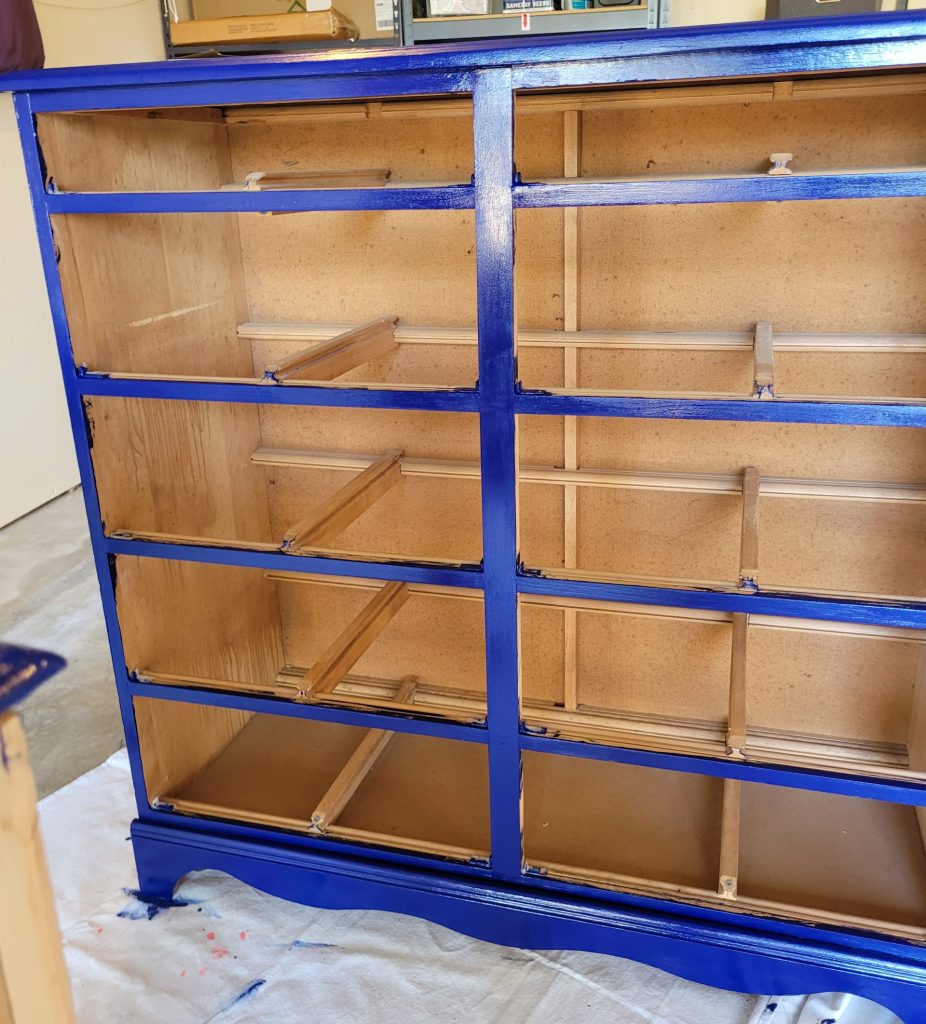
Now on to the painting. I had some brushes already and did a whole coat of midnight blue with the brush. Painting generally goes pretty fast, so that was good. However, this brush left streaks. Hoping that a second coat would even out the streaks I used the brush again. There are still streaks. So I ordered a small foam roller online to try. The roller seemed to cover the streaks with was good, but it left bubbles. I had to go over the paint 4 or 5 times, trying different levels of dryness on the dresses and different levels of dryness on the roller to get it dry without the bubbles. What seemed to work was to let the dresser dry for a while, and roll over it after most of the paint was used up on the roller. Eventually I got all the bubbles out.
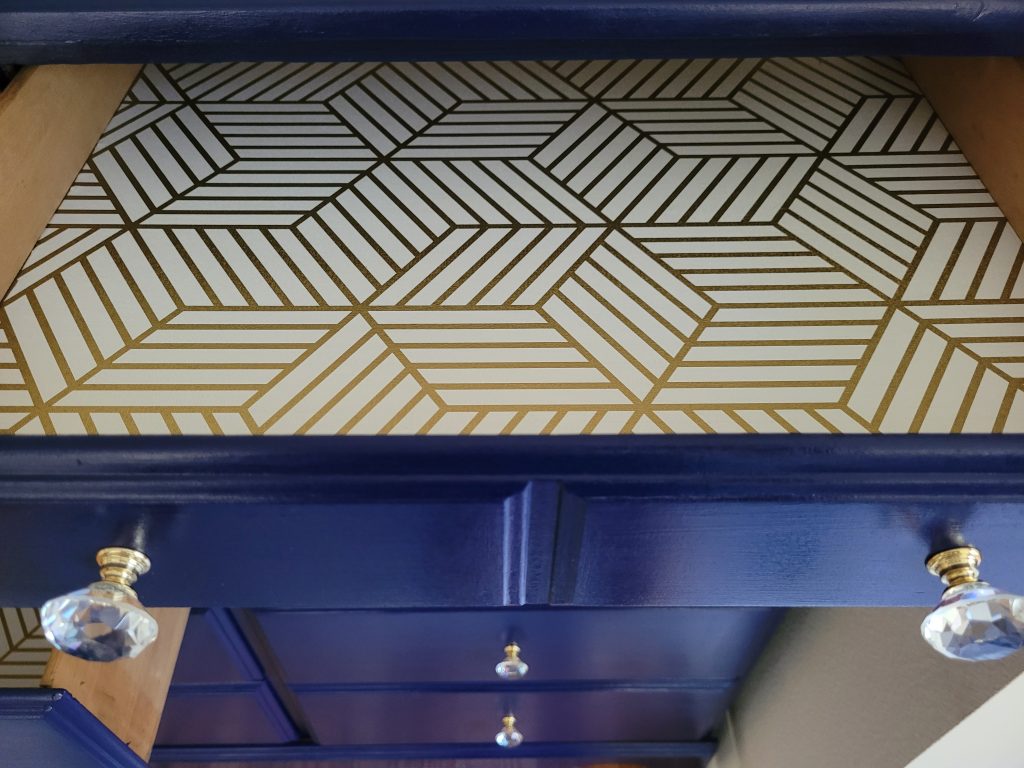
After I finished with the paint, I ordered dresser knobs online and peel and stick wallpaper/drawer liner to line the bottom of the drawers. This took another week or so to finish as I didn’t order enough of the liner at first and had to order more. Plus, it was not as easy and simple to get the paper to measure right and fit/line up right in the drawer.
Finally, I have my finished dresser and it is beautiful! Not perfect, but, beautiful none the less. This project took so much time I am not sure I want to do it again. But, this was a good learning experience, so I know the next one will be faster.
What I learned from working this project:
- You need space
- You need time
- Sanders come in different shapes and sizes
- Sanders can be electric or have a rechargeable battery – batteries sold separately
- There are different roughness to sandpapers and it is important to have the right one
- Brushes can leave streaks, even after you sand and smooth the wood
- Rollers can leave bubbles requiring lots of coats
- For a more satisfying and clean look, you might want to tape edges and cover any wood that is not going to be painted
- Be patient